Ever wish you could whip up a dessert that’s both decadently chocolatey and silky-creamy—using only a box of brownie mix and a handful of easy ingredients? If you’ve got school lunches to pack, weeknight math homework sprawled on the table, and tiny helpers eager for chocolate chips, these black bottom cupcakes are your new kitchen lifesaver.
Let me paint the scene: I’m swirling cheesecake batter atop brownie mix while Basil, our dog, circles below and Ethan “helpfully” counts out the mini chips (he eats every third one, for quality control).
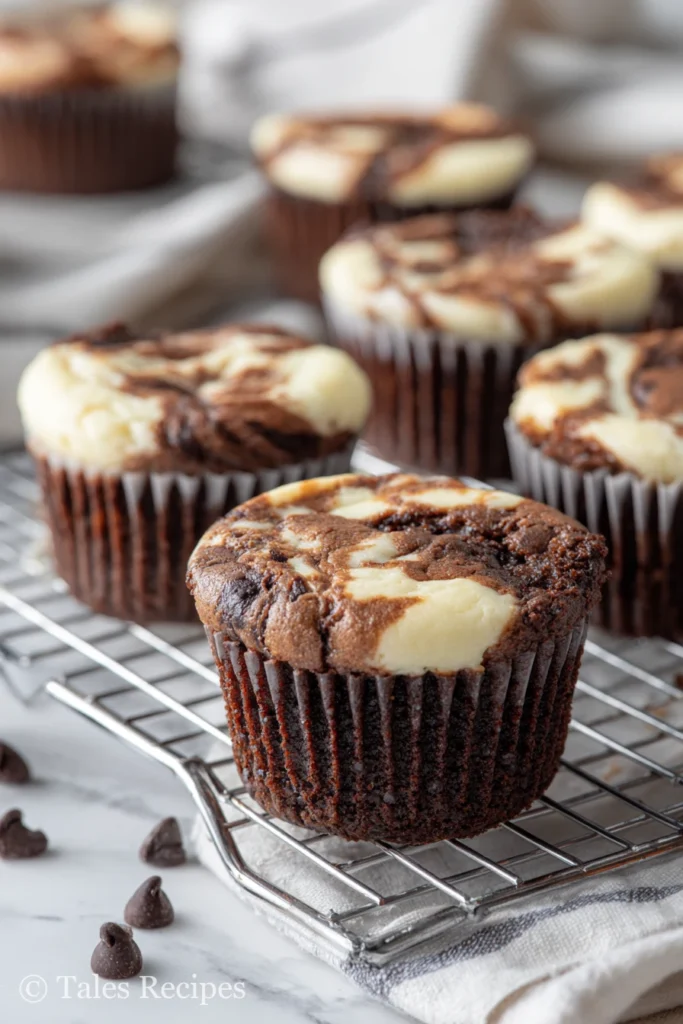
What makes black bottom cupcakes a true family favorite? You get a fudgy brownie base, a tangy cheesecake crown, and those signature marbled tops—all with pantry staples and no need for pastry-school tricks.
You’ll love that these cupcakes are:
- Speedy enough for a Tuesday—ready in about 45 minutes
- Foolproof, with no special equipment or “fancy” steps
- Perfect for bakers of any age (Lila, age seven, can swirl like a pro)
Want treats that freeze well, wow at bake sales, and bring the house running with a single chocolatey whiff? Cupcake magic awaits.
Gather your brownie mix—because the secret to sweet family memories (and a little kitchen laughter) is about to be revealed on your next batch of black bottom cupcakes. Ready to find out why my kids never let these cool completely before sneaking one? Keep reading for everything you’ll need, plus all my tips for success!
Table of Contents
Why You’ll Love Black Bottom Cupcakes with Brownie Mix
Have you ever wished for a dessert that’s chocolatey, creamy, and easy enough for a Tuesday night treat? Black bottom cupcakes are your answer.
From the very first batch I made, my kids—Ethan and Lila—insisted on being the official chocolate chip inspectors (yes, fingers in the bowl are standard operating procedure in our kitchen).
Chocolate & Cheesecake, All in One
These black bottom cupcakes satisfy two cravings at once:
- Fudgy brownie base from a simple boxed mix—no fancy ingredients or pastry degree needed.
- Tangy, creamy cheesecake layer that bakes right on top.
- Marbled tops so pretty, your friends will ask for the “bakery address”—I promise, no swirling skills required.
When you need something show-stopping in a hurry, starting with brownie mix brings dessert within 45 minutes.
Built for Busy Families
- I use “just add water, oil, and eggs” mixes for ultimate weeknight speed.
- My own taste tests show even gluten-free or dairy-free boxed mixes work beautifully for black bottom cupcakes.
You can prep these cupcakes while homework happens, and still have energy for a round of Uno at the table.
Tested Crowd-Pleasers & Freezer Heroes
- Black bottom cupcakes keep their flavor for days—pop leftovers in the fridge for grab-and-go treats.
- They freeze perfectly: stash extras for surprise guests or last-minute bake sales.
- I’ve seen them vanish at birthday parties and potlucks—the empty platter is your standing ovation.
My favorite part? Anyone, even first-time bakers, can pull off black bottom cupcakes that bring a big wow. Imagine your kitchen full of laughter, chocolate smells, and swirled cupcakes cooling on the counter—now that’s a recipe for joy.
You’ll find these cupcakes are both a lifesaver and a memory-maker.
Ingredients & Equipment for Black Bottom Cupcakes
Black bottom cupcakes start with easy pantry staples plus a few smart tools. Let’s make your prep as breezy as your first bite is tasty.
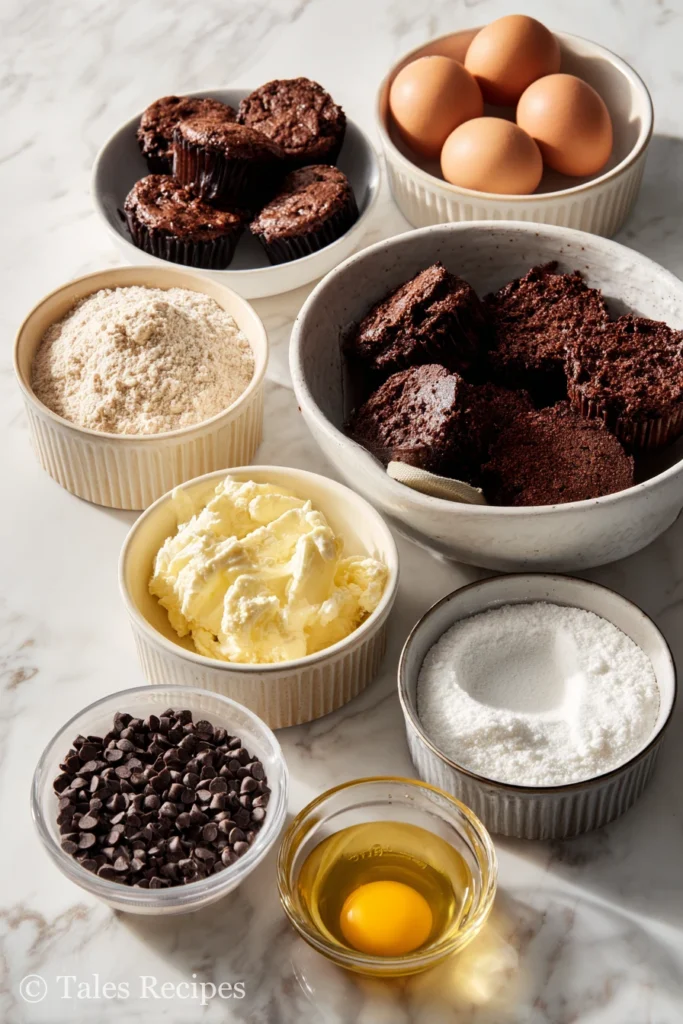
Brownie Base Essentials
You’ll want a boxed brownie mix for the base—think Ghirardelli, Betty Crocker, or your store’s trusty classic.
Scan the box for these simple add-ins: eggs, oil, and water. Did you forget oil? Melted butter or neutral applesauce steps in just fine.
For even more practical tips and alternate swaps, I always link to my How to Make Brownie Mix Cupcakes guide.
Ever have a homework-night dinner rush? These box mixes are my secret when Ethan’s spelling worksheets and Lila’s hungry dance collide—just add, stir, and spoon, no flour cloud in sight.
Classic Cream Cheese Filling
Expect the famous tangy layer—I use full-fat cream cheese for max creaminess, but lighter works in a pinch.
You’ll need:
- Cream cheese (softened)
- Sugar
- Egg
- A pinch of salt
- Vanilla (optional, but heavenly)
- Mini chocolate chips (my kids insist on extra)
Want a twist? Try folding in orange zest, peppermint, or even a handful of rainbow sprinkles. Everyone loves a surprise swirl.
Tools You’ll Need
Keep it simple with your favorite muffin tin, plus either paper or silicone liners (I find silicone makes “peeling” for little hands a breeze).
Stir that filling silky-smooth with an electric mixer or food processor.
For teamwork and fewer spills, I set up:
- Mixing bowls
- Measuring spoons and cups
- An easy “station” layout so everyone has a job (kids get to scoop chocolate chips!)
Ingredient Substitution Tips
Dairy allergy at your table? There are great plant-based cream cheeses and dairy-free chocolate chips now. Gluten-free brownie mixes taste fantastic.
Can’t find mini chips? Chop your favorite chocolate bar.
Leftover cream cheese keeps best if wrapped tight; I use it in bagels, pancakes, even dinner rolls. For more vintage substitutions, check out this old-school guide.
With smart swaps and a short list, you’re set to turn any Wednesday into a cupcake day, messes and laughter included.
Whether you’re baking for a birthday or a Tuesday kitchen picnic, these black bottom cupcakes fit any occasion—delivering chocolate, cheesecake, and family giggles with every bite.
Step-by-Step Instructions for Black Bottom Cupcakes
Getting Ready
Ready to tackle black bottom cupcakes like a pro? Start by preheating your oven to 350°F (175°C) for that perfect rise.
Line your muffin tin with sturdy cupcake liners—they help keep those swirled tops picture-perfect, and cleanup is a breeze.
For the brownie base, dump your boxed mix into a bowl. Follow the instructions on the box for add-ins like eggs, oil, and water. My “Emma trick” for extra tender cupcakes? Stir the batter gently—never beat it! Overmixing can make brownies tough, and no one wants a hockey puck.
If you love extra height or fluff, add 1 teaspoon of baking powder to the dry mix before combining. We use this “cheat” on busy homework nights when my kids are extra hungry.
Need a refresher on how to work with boxed mixes? Pop over to Brownie Bottom Cupcakes for step-by-step tips.
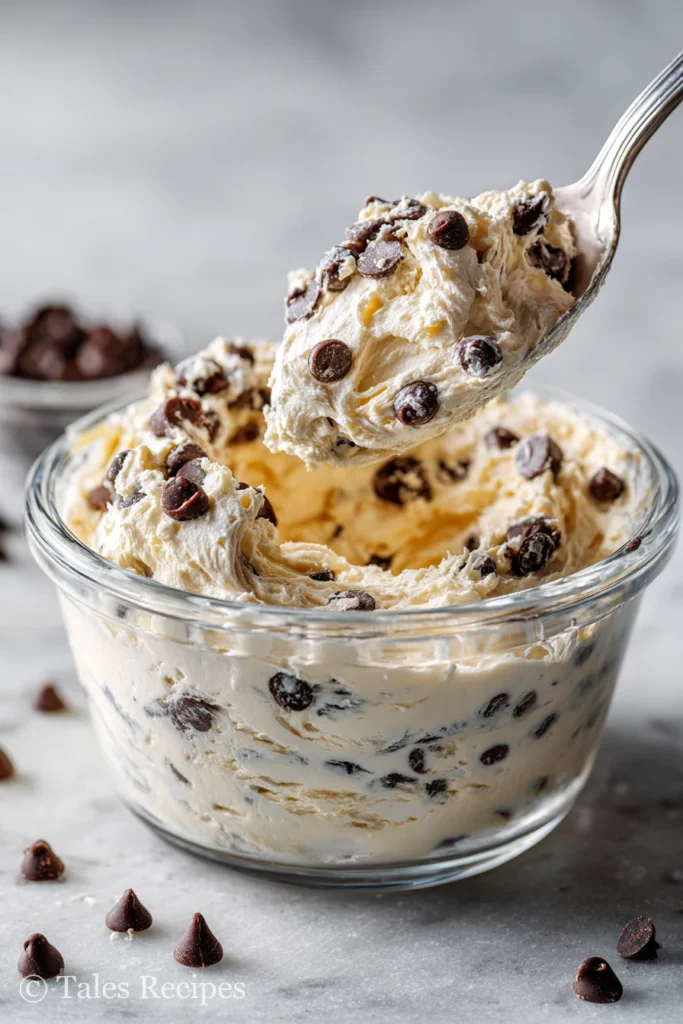
Creating the Cream Cheese Swirl
In a clean bowl, cream together 8 oz softened cream cheese and 1/3 cup sugar until smooth and dreamy. Add 1 large egg, a dash of salt, and a splash of vanilla if you love it.
Now for the fun: fold in mini chocolate chips. Around here, Ethan sneaks half a handful before I can stop him! This gives your cream cheese layer those classic speckled pockets of chocolate.
Drop a spoonful of cheesecake filling right onto each cupcake—for that signature “black bottom” contrast.
Assembly in the Muffin Tin
It’s all about the ratios. Fill muffin cups halfway with brownie batter (about 2 tablespoons each). Then, dollop a heaping tablespoon of cream cheese filling right on top.
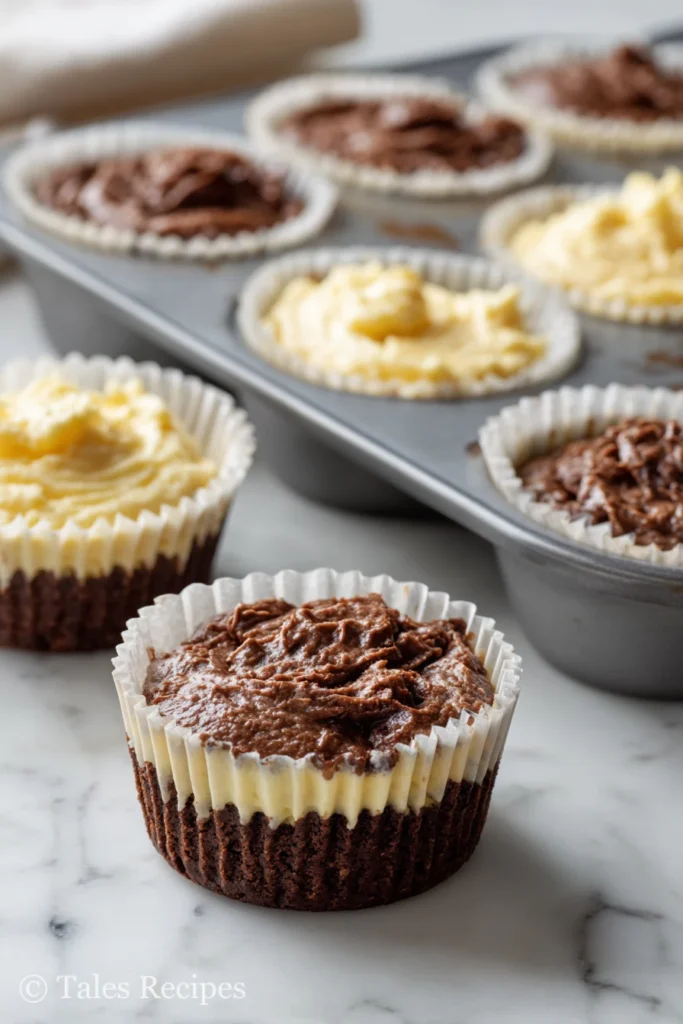
Here’s the crossroads: You can either gently swirl the two layers with a skewer for a marbled look, or leave them in layers for neat, dramatic tops. Either way, they look bakery-fancy—no pastry school required.
Baking and Cooling
Bake for 20–25 minutes (here’s my trick: watch for the cheesecake tops to get slightly golden and puffed, while the brownie is set). Ovens vary, so test with a toothpick in the brownie part—not the cream cheese center.
Let the cupcakes cool in the pan for 5–10 minutes, then transfer to a rack. Don’t rush this step! Cooling in the pan helps prevent sunken middles and lets the marbling reveal itself.
For storage, these keep in the fridge (tucked into a lunchbox or for snacking) for up to 5 days. Or stash in the freezer—I always freeze a batch for surprise guests or late-night “just one more” cravings.
You’ll find these steps guarantee pillowy, gorgeous black bottom cupcakes—even on a hectic Tuesday night. For even more brownie cupcake ideas, see Brownie Cake Mix Cupcakes.
Baking is more fun (and less stressful) when you know what to look for, right? Remember: gentle mixing, real spoonfuls, and cooling patience. Enjoy the marbled magic—these cupcake swirls never stop delighting my crew!
Tips & Variations: Make Black Bottom Cupcakes Your Own
When you bake black bottom cupcakes, you get to channel your inner kitchen artist. There’s so much room for fun tweaks and tasty experiments, and in my house, Ethan and Lila are usually elbow-deep in batter with new add-ins!
Flavor Boosts & Fun Twists
- Add 1 teaspoon of espresso powder or a sprinkle of orange zest to the brownie base for grown-up depth—you’ll smell that luscious aroma as they bake.
- Swirl a spoonful of peanut butter, raspberry jam, or caramel into the cheesecake layer before baking; my kids rate peanut butter “11/10.”
- Toss in chopped nuts, colorful candies, or shredded coconut for playful texture and a little surprise in every bite.
Texture and Appearance Fixes
Black bottom cupcakes sometimes misbehave—don’t worry, it happens!
- If the centers sink, your oven may be too hot or the brownies overmixed; stir just until combined for a tender crumb.
- For filling that cracks or gets rubbery, make sure cream cheese is softened and eggs aren’t overbeaten.
- Using a fudgy mix? Cupcakes are denser. “Cakey” mixes rise more but can dry out faster—watch the bake time.
- My gluten-free and vegan swaps: use a certified GF brownie base with dairy-free cream cheese and an egg substitute, then monitor closely (results are best with mini chips).
Explore even more swap ideas and batch troubleshooting with Lemon Brownie Cupcakes.
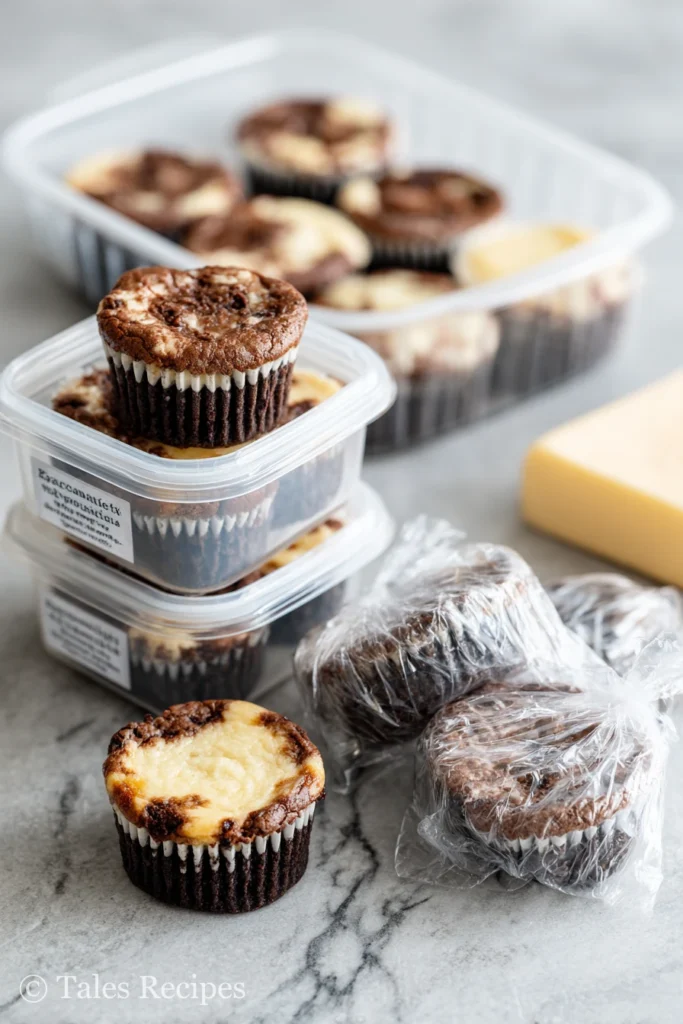
Storage, Make-Ahead, and Freezing
These are my lunchbox heroes and freezer friends—here’s how I keep black bottom cupcakes just-right:
- Store in an airtight container in the fridge for up to 5 days; they taste even better day two!
- Layer between wax paper and freeze for up to 2 months—label the bag so surprise guests don’t turn into “where are my cupcakes?” panics.
- Warm frozen cupcakes in the microwave for 10-15 seconds for that just-baked smell.
You can check out Brownie Cupcakes in Air Fryer for a quick refresh trick.
No two kitchens are the same—share your custom mix-ins or freezer tips in the comments so we can all make every black bottom cupcake batch a story worth repeating.
Flavor Pairings for Black Bottom Cupcakes
When it comes to serving black bottom cupcakes, it’s all about choosing pairings that let those chocolatey, tangy bites really shine.
I always reach for traditional favorites and new twists alike—my family agrees that the right sidekick can turn cupcakes into a celebration!
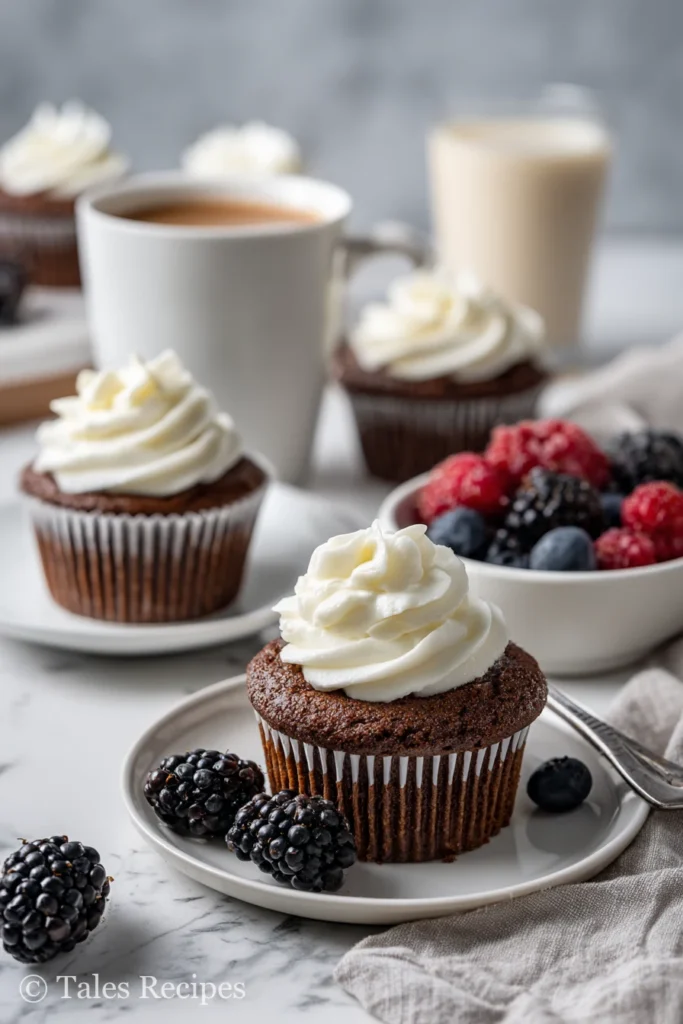
Classic Sips & Creamy Toppers
Nothing beats the old-school comfort of:
- A glass of ice-cold milk: Try it once and you’ll never go back.
- Hot, bold coffee: The slight bitterness balances the rich, fudgy base.
- A generous dollop of whipped cream: Light, airy, and just sweet enough.
Ethan insists that milk “makes the cupcake taste even more chocolatey,” and honestly, he’s not wrong.
Party Platter Power-Ups
Planning a dessert table? Create a “dessert trio” with:
- Red velvet cupcakes
- Tiramisu cupcakes for a coffee twist
- Black bottom cupcakes, of course
Everyone grabs their favorite, and no one can resist seconds—especially when you add fudge brownie cupcakes with gooey centers.
Fresh & Light Sidekicks
To keep things from getting too heavy, I’ll often serve:
- A bowl of tart berries: Strawberries, raspberries, or blueberries bring color and brightness.
- Citrus salad: Oranges and grapefruit make each bite feel lighter.
These fresh pairings “cut right through the richness,” as Lila likes to remind us between sticky-fingered bites.
Shareable Family Moments
Picture this: Basil, our ever-hopeful dog, parked under the kitchen island, waiting for a crumb from black bottom cupcakes. It’s a scene repeated at every family get-together, and I bet it sounds familiar to you!
So whether you’re sipping milk, mixing up your own party platter, or aiming for a fresh finish, “black bottom cupcakes turn any day into a mini celebration.” Pairings like these aren’t just about taste—they’re about turning dessert time into memory time.
Bring Black Bottom Cupcake Magic to Your Table Tonight
When you bake black bottom cupcakes, you’re not just making dessert—you’re crafting a story of chocolate, cheesecake, and shared smiles. Imagine the scent, the laughter, and the first bite: it’s kitchen joy, made simple.
Here’s how you can bring these black bottom cupcakes to life:
- Use a boxed brownie mix for weeknight speed—no stress, just sweet results
- Get hands-on with kids—let them scoop, swirl, and steal a few chocolate chips
- Swap in dairy-free or gluten-free ingredients if needed; these cupcakes welcome everyone
- Double the batch and freeze extras so last-minute celebrations are always covered
- Pair cupcakes with milk or fresh berries for a memory-making dessert spread
Ready to fill your kitchen with chocolatey joy? Gather your favorite helpers, prep those liners, and make tonight a black bottom cupcake celebration. The best family stories start with a little batter and a lot of laughter—so what will yours be?
Black Bottom Cupcakes with Brownie Mix
You’ll love how these black bottom cupcakes pair fudgy brownie bottoms with a creamy cheesecake swirl— all from a boxed mix! Ever wish dessert could be both gorgeous and simple? These are your answer. Picture this: marbled tops, hidden chocolate chips, and zero fancy equipment needed.
“Chocolate + cheesecake = pure weeknight joy.”
“Swirl, bake, repeat—the easiest wow dessert!”
Ingredients
Instructions
- Preheat your oven to 350°F (175°C). Line your muffin tin with 18 cupcake liners.
- Mix the brownie batter according to package directions (gently stir, don’t overmix—this keeps the base tender). For fluffy cupcakes, add 1 tsp baking powder if you like.
- In a separate bowl, beat softened cream cheese with sugar until smooth. Add the egg, salt, and vanilla; beat to combine.
- Fold in mini chocolate chips.
- Fill each liner halfway (2 Tbsp) with brownie batter.
- Drop a generous tablespoon of cream cheese mixture onto each brownie base.
- Swirl gently with a skewer for a marbled look, or leave as layers for a bold, black-and-white effect.
- Bake 20–25 minutes, until cheesecake tops puff and the brownie edges set. Toothpick-test the brownie, not the cream cheese.
- Cool in the tin for 5–10 minutes, then transfer to a rack. Let them cool fully for best swirl effect and easy peeling.
Nutritional values
Servings: 18 ServingCalories:215kcalTotal Fat:11gTotal Carbohydrate:27gDietary Fiber: 1gSugars: 18gProtein:3g
Note
- For a fun twist, add orange zest or swirl in peanut butter before baking; my kids ranked the peanut butter swirl “11/10!”
- These black bottom cupcakes freeze perfectly—stash some for surprise playdates, and enjoy with a glass of cold milk.
- Ever wondered why the tops sink? Stir that batter gently, and don’t skip cooling in the pan!
Enjoy turning any night into a mini celebration—share your own swirl surprises in the comments!