Ever had a dessert vanish before it even finished cooling? Every time I pull together this peanut butter rice krispie treats recipe with Ethan and Lila, I’m lucky if anything makes it past the first half hour—family fingers just can’t help themselves.
You know that comforting, almost magical scent of melting marshmallows and creamy peanut butter swirling in your kitchen? It’s the kind of aroma that calls everyone—kids, neighbors, even your dog, Basil—straight into the heart of family snack time.
Maybe you’re hunting for a treat that comes together in under 20 minutes, no oven required, and with only pantry staples you probably have on hand. Or maybe you just need a foolproof dessert that travels beautifully to bake sales, playdates, or after-school moments. If so, you’re in the right kitchen!
Here’s what you’ll love about this peanut butter rice krispie treats recipe:
- Simple, one-pot method—busy days welcome!
- Balanced sweet and salty flavors that satisfy every age
- Hearty, gooey, never rock-hard texture in every bite
- No fancy equipment or specialty ingredients—just familiar, feel-good magic
I’ve tested and tweaked every step right beside my kids (and learned to keep extra marshmallows on reserve for miniature taste-testers). Whether you want to keep things classic, add chocolate, or make a nut-free swap for school, you’ll find it easy to make these treats your own—and I can’t wait to hear how your family puts their twist on it.
Why does this recipe matter now? Because weekday desserts should spark joy, not more stress—and there’s something about gathering around the counter, licking sticky fingers, and swapping stories that’s worth repeating. Especially in a season when togetherness feels more precious than ever.
So—are you ready for sticky smiles, easy clean-up, and the kind of chewy, marshmallow-peanut better bliss that turns snack time into a mini celebration? Let’s get you set for the happiest batch yet.
Because, around here, the best memories always start with a single, gooey square.
When you see why my kids call these “the bars that never last,” you’ll know you’ve found a new favorite.
Table of Contents
Why You’ll Love This Peanut Butter Rice Krispie Treats Recipe
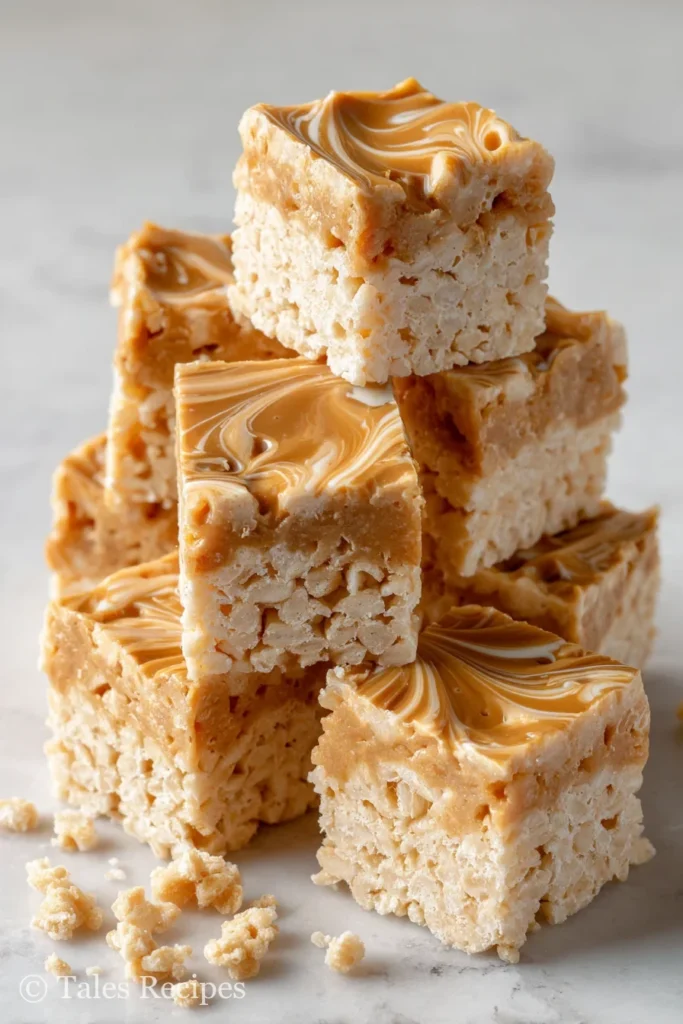
When I make a batch of peanut butter rice krispie treats with Ethan and Lila, it’s pure kitchen magic—sticky hands, laughter, and that sweet-salty scent that draws everyone in from every corner of the house.
There’s something irresistible about the gooey-chewy texture and the way that creamy peanut butter transforms the classic Rice Krispie treat into a snack that’s both hearty and nostalgic.
Picture this: we’re mixing up soft, pillowy marshmallows, Ethan sneaking a taste, Lila licking the spatula, and even Basil eyeing the cereal for crumbs on the floor.
Perfect for Busy Weeks, Birthdays, and Anytime in Between
You’ll love this peanut butter rice krispie treats recipe because:
- It’s a true no-bake wonder: no oven needed, just one pot and everyday pantry staples.
- Cleanup? Hardly anything to wash—just one saucepan, a spatula, and the pan you press your treats into.
- The texture is a dream: not too crumbly, never rock-hard, with gooey marshmallow pulling together every crispy, peanutty bite.
Kids, grown-ups, and anyone with a sweet tooth can’t help but ask for seconds.
Want a quick treat for a last-minute bake sale?
Need a hassle-free dessert for family movie night or a birthday party?
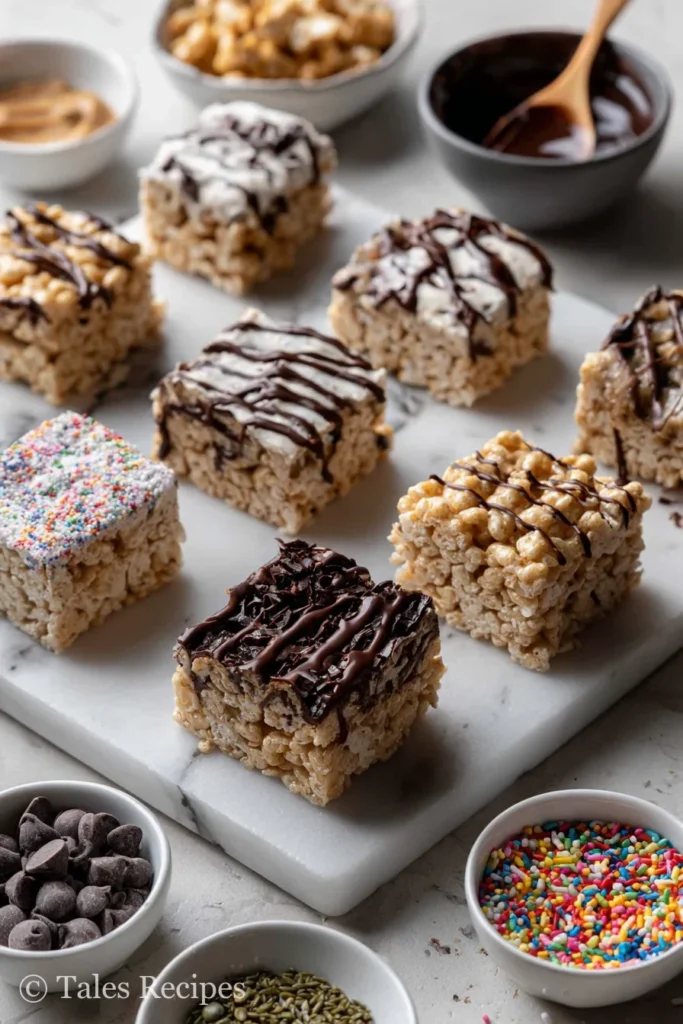
You can adapt this recipe on the fly by adding chocolate chips, swirling melted chocolate on top, or tossing in confetti sprinkles.
Comfort and Nostalgia—With a Hearty Peanut Butter Twist
What I love most about these treats is that they spark that happy nostalgia of childhood sleepovers and school parties.
But the nutty depth of peanut butter makes them just as crave-worthy for adults. There’s something so satisfying about the combination of sweet, salty, and chewy that never gets old.
Made for Sharing—And Easy Tweaks
I’d love to hear: does your family double the peanut butter? Do you have a birthday tradition or a peanut butter trick of your own?
Share your peanut butter moments in the comments, or let us know how you make this easy treat your family’s favorite.
From sticky-fingered laughter to the last leftover bar, this recipe proves that the best kitchen memories fit in a single, buttery, peanutty square—and everyone’s invited.
Ingredients & Equipment
Classic Peanut Butter Rice Krispie Treats Ingredients
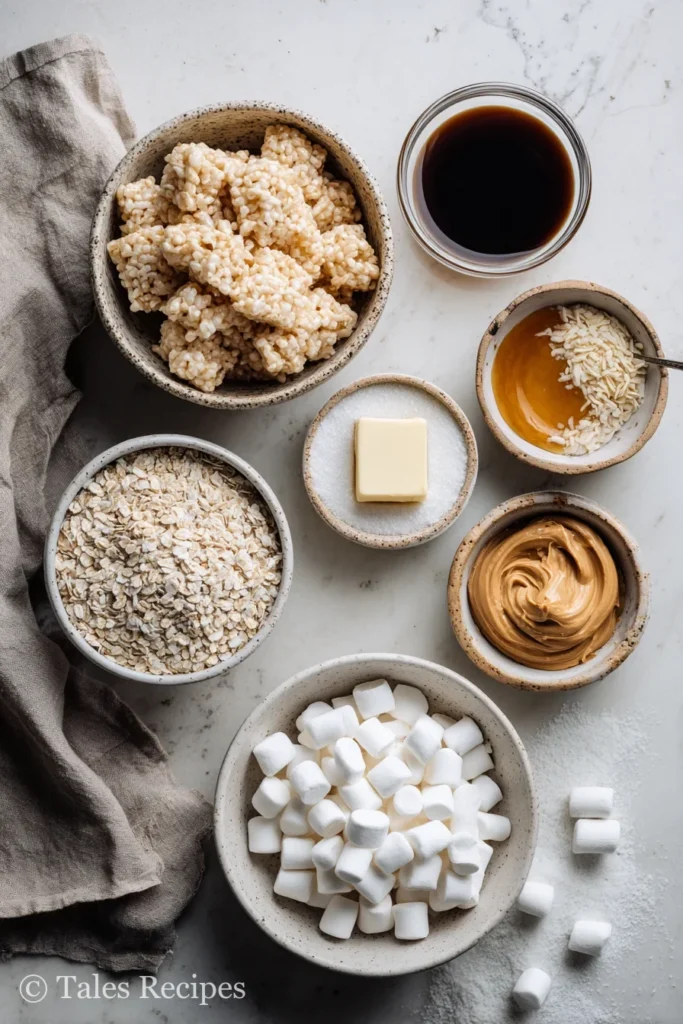
Craving that classic peanut butter rice krispie treats recipe magic? Start with pantry-friendly basics—no specialty-store hurdles, promise! Here’s your shortlist:
- 1/4 cup butter (salted or unsalted—the flavor melts right into those pillows of cereal)
- 10 oz mini marshmallows (“soft, pillowy marshmallows” that melt into sweet clouds)
- 1/2 cup creamy peanut butter (“creamy, spreadable peanut butter” makes every bite rich)
- 6 cups Rice Krispies cereal
- 1/2–1 teaspoon vanilla extract (optional, but adds warmth)
Looking for a twist or need an allergy swap? Try these:
- Sunflower seed butter or almond butter (for nut-free or peanut allergies)
- Brown rice cereal for a hearty, whole-grain boost
- Optional add-ins: chocolate chips, colorful sprinkles, or crispy mix-ins—make it your own!
Family tip: Lila prefers extra peanut butter—so we sometimes sneak in an extra tablespoon for “double-the-hug” bars.
Equipment List
Every peanut butter rice krispie treats recipe needs a simple stack of kitchen helpers:
- Large, nonstick saucepan (or regular pot)
- Sturdy silicone spatula (or big wooden spoon)
- 9×9-inch or 9×13-inch baking pan (for extra-thick or lunchbox-thin bars)
- Parchment or wax paper (easy lifting, easy cleanup)
- Butter or nonstick spray (for fingers and utensils—less mess, more fun!)
- Mixing bowls, measuring cups, sharp knife for clean cutting squares
Ingredient Comparison Across Variations
Whether you stick classic, trim the sugar, or banish marshmallows, it’s easy to compare your options side-by-side:
| Version | Sweetener | Marshmallows | Peanut Butter | Nutrition & Notes |
|---|---|---|---|---|
| Classic | Marshmallows | Yes | Yes | Gooey, kid-approved, pantry-staple |
| Healthier | Brown rice syrup | No | Yes | Less sweet, chewier, vegan-gluten-possible |
| Marshmallow-Free | Sugar + corn syrup | No | Yes | Candy-like, denser, ultra nostalgic |
Mix-ins like chocolate chips or sprinkles make these bars dessert-table ready for any crowd.
“No specialty-store hurdles here—everything comes from a regular pantry.”
If you’re making peanut butter rice krispie treats recipe for a bake sale, after-school snack, or nostalgic snack fix, you only need a handful of familiar ingredients and a few trusty kitchen tools. That’s the kind of simple, joyful solution we reach for—around my kitchen table and, I bet, around yours too!
Step-by-Step Instructions
Making the best-ever peanut butter rice krispie treats recipe is pure kitchen happiness—no oven needed, just gooey fun and lots of sticky smiles. Here’s how I do it with Ethan and Lila perched at the counter, waiting for that first chewy bite.
1. Melting Butter and Marshmallows
Always start by melting your butter over low heat in a large, nonstick pot. I repeat: patience! If you rush, you’ll get browned bits and tough treats. Remember, “patient melting = soft, gooey bars!” (Trust me, I’ve tested this more times than I can count.)
Once the butter melts, add mini marshmallows. Keep stirring until they puff and melt into a glossy cloud—Ethan calls this part “the marshmallow cloud.” You want it smooth and dreamy, not brown or sticky at the edges.
2. Blending in Peanut Butter and Vanilla
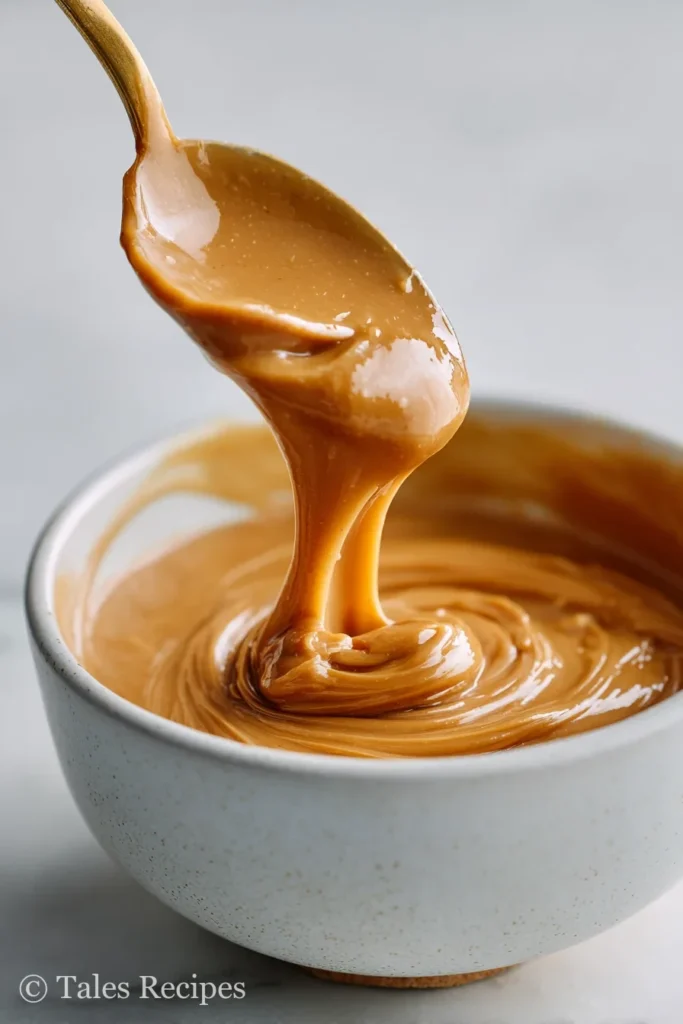
Quickly take the pot off the heat—this is your magic moment. Add creamy peanut butter and a splash of vanilla if you like. Stir gently for an even mix and inhale that nutty warmth wafting up. The mixture should look thick, shiny, and utterly irresistible.
- For a silkier texture, always blend peanut butter in off the heat.
- Like a big peanut punch? Lila always asks for an extra spoonful.
3. Mixing in Cereal Promptly
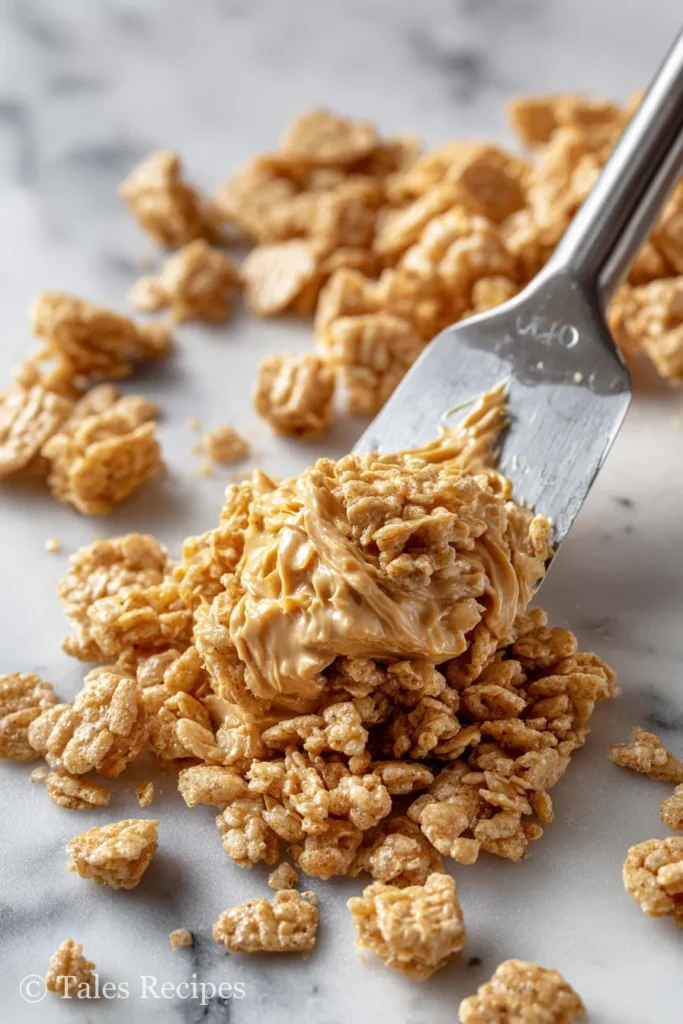
Pour in your Rice Krispies cereal right away—it’s a race against cooling! Use a sturdy spatula to fold until every puff is coated. Lila calls this “the important cereal scramble,” and she’s right. Fast hands here mean treats stay chewy, not crumbly.
Don’t over-mix, or you’ll crush the cereal and lose that crispy bite.
4. Pressing Into Pan
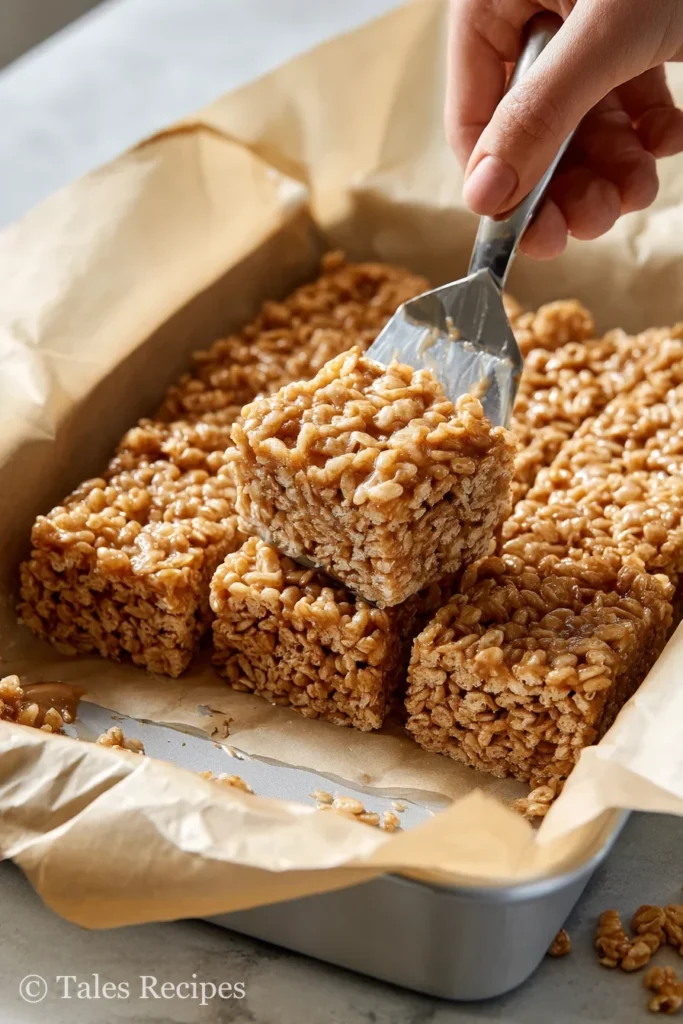
Scrape the mixture into a parchment-lined or greased pan (for thick bars, pick a 9×9; for thinner, use 9×13). Press it in gently with buttered hands or a greased spatula—if you squish too hard, your bars will be dense (once, I pressed so firmly even Basil the dog couldn’t nibble the edges).
- Parchment helps with easy lift-out and tidy slicing.
5. Cooling and Slicing
Let the pan set at room temperature for 30–45 minutes. This is the patience game—but it’s worth it for clean, neat squares. Use a buttered knife in long, steady cuts for those bakery-style bars.
6. Optional: Chocolate or Topping Layers
Craving extra decadence? Melt chocolate chips using the “double-boiler trick” from my Chocolate Melting Guide. Pour or drizzle over set treats and let cool.
Or sprinkle on mini candies for birthday magic—Ethan’s absolute favorite!
When you follow this step-by-step peanut butter rice krispie treats recipe, you’ll get guaranteed gooey perfection every time. My best secret? Stick with low heat, gentle pressing, and enjoy the laughter in your kitchen as much as the finished treats!
Pro Tips, Tricks & Troubleshooting
Peanut butter rice krispie treats recipe lovers—ready to dodge the classic pitfalls and score chewy, gooey bites every time? Here’s how I keep my bars perfectly soft (yep, even for little hands and Basil’s hopeful sniffs!).
Secrets for the Best Gooey Peanut Butter Rice Krispie Treats
The heart of every peanut butter rice krispie treats recipe is gentle heat.
Always melt butter and marshmallows over low heat—fast cooking on high can make bars rock-hard (if that happens, trust me, you’re not alone!).
Light hands are your friend here:
- Don’t press the mixture too firmly into the pan. I once pressed so hard, even Basil couldn’t chew the bars!
- Coat your hands or spatula in nonstick spray or butter to keep things mess-free.
Try this mantra: “Low heat, gentle press, happy treats.”
Make-Ahead & Storage
Want to stash away treats for busy lunchboxes or bake sales?
Use these simple storage tricks so your peanut butter treats stay soft and chewy:
- Store in an airtight container at room temp up to 7 days (if they last that long).
- Chill in the fridge for firmer bars—just let them sit a few minutes before enjoying.
- Freeze individually wrapped bars for grab-and-go snacks. I like lining a container with parchment, layering bars, and freezing up to 2 months.
Pro tip: Individually wrap before you freeze for no-sticky-fingers snack time.
Troubleshooting Table
Here’s a quick-fix guide for those “Uh-oh!” moments:
| If your treats are… | The fix | Emma’s tip |
|---|---|---|
| Too hard | Use lower heat; add more marshmallow or PB | “Patient melting means gooey bars!” |
| Too sticky | Add extra cereal or chill longer | “A quick fridge chill solves stickiness.” |
| Falling apart | Mix more gently; check ratios | “Double-check your measurements—Ethan loves measuring!” |
Customizing & Making Allergy-Friendly
Making your peanut butter rice krispie treats recipe school- or allergy-friendly is easy with a few swaps:
- Try sunflower seed butter or almond butter for nut-free classrooms.
- For texture tweaks, add more or less marshmallows: more for goo, less for crunch.
- Sprinkle in chocolate chips, mini M&M’s, or confetti for parties—my kids think every bake sale bar needs rainbow sprinkles!
What’s your family’s favorite twist? Share in the comments—I’d love to test your creative ideas (and so would Ethan and Lila).
No matter how you spin it, these pro tips will keep your peanut butter rice krispie treats recipe foolproof, family-friendly, and always ready for sharing or sweet snacking.
Fun Variations: Healthier, Chocolate, & No Marshmallow Versions
Peanut butter rice krispie treats recipe lovers, rejoice—there’s no need to stick to just one style! You can turn that classic, gooey delight into a healthier snack, a decadent chocolate treat, or even a marshmallow-free bar that’s candy-like and nostalgic. I’m sharing my kitchen’s best methods and swaps for every craving.
Healthier Peanut Butter Rice Krispie Treats
If your family, like mine, sometimes craves a “cleaner” option, swap in these pantry-friendly picks:
- Brown rice syrup plus natural peanut butter—no marshmallows needed! It’s less sweet, extra chewy, and super satisfying.
- Try whole-grain or extruded brown rice cereal for more fiber and subtle crunch.
- Want more inspiration? Check out this healthy cereal bar at Peanut Butter Cereal Bars.
Many families love this “nutty, hearty” twist for after-school snacks; Lila calls them her “chewy peanut butter bricks.”
Chocolate Peanut Butter Rice Krispie Treats
To turn your peanut butter rice krispie treats recipe into a chocolate showstopper:
- Swirl melted chocolate over the bars or add chocolate chips before pressing the mixture into the pan.
- A dash of cocoa powder adds a peanut butter cup vibe.
- For even more chocolatey ideas, see my Chocolate Peanut Butter Rice Krispie Treats and Double Chocolate Rice Krispie Treats.
Imagine pulling a pan of these out on a Friday night—Ethan and Lila literally line up for chocolate swirls.
Marshmallow-Free (Syrup-Based) Bars
If you love classic Midwest Scotcheroos, try this fun riff:
- Heat peanut butter, corn syrup, and sugar until just bubbling, then pour over crisp cereal. Skip the marshmallows for dense, candy-like squares.
- For a healthier twist, use maple syrup or agave (just reduce the amount by 1/4 to avoid stickiness).
Cut with a sharp knife and wrap individually for perfect bake sale treats.
What wild peanut butter combos does your family make? Share your best tweaks in the comments below—I always read them!
Whether you go simple, nutty, or all-out decadent, a peanut butter rice krispie treats recipe makes it easy to bake memories together. Try a new variation this week—the chewy, crispy possibilities are endless.
Flavor Pairings & Serving Ideas
Great Matches for Peanut Butter Rice Krispie Treats
There’s something magical about this peanut butter rice krispie treats recipe—pair it with the right drinks or extras, and your snack break feels like a celebration.
You can never go wrong with cold milk and peanut butter rice krispie treats; it’s the classic duo that makes kids cheer and grown-ups nostalgic.
Is your afternoon dragging? Pour a glass of iced coffee alongside these bars for the ultimate pick-me-up—you’ll thank me later.
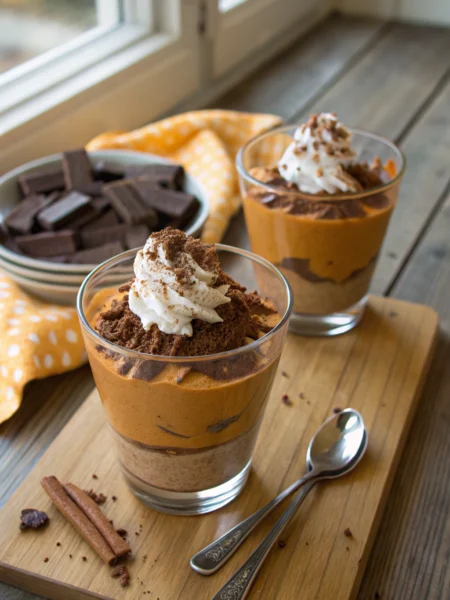
For cozy days, I love serving these with hot cocoa; the marshmallow-peanut butter sweetness is pure comfort.
Looking to make snack time even more fun?
- Drizzle with caramel for a gooey upgrade
- Cut treats into hearts or stars for lunchbox smiles (Ethan swears spaceship shapes taste better!)
- Finish with a handful of chocolate chips or sprinkles for color and crunch
Only have five minutes? Try some of these quick combos, then tell me your favorite in the comments—our family loves hearing new ideas!
Serving Suggestions for Special Occasions
Life’s big (and small) events deserve a treat that brings everyone together—this peanut butter rice krispie treats recipe fits right in.
When birthdays roll around, I usually double the batch and cut generous bars—always a crowd-pleaser at parties.
For school bake sales or potlucks, I like to stack squares with parchment in mason jars; it looks festive and keeps them fresh.
If you need a homemade gift in ten minutes:
- Wrap individual squares in wax paper and tie with twine
- Bundle with a note and you’ll be everyone’s favorite neighbor
Make Every Treat a Mini Celebration
Sip, stack, drizzle, or dip—there’s no wrong way to serve these chewy, sweet bars.
When it comes to making peanut butter rice krispie treats special, remember: “It’s not about fancy techniques, but the grins around your table.”
Share your own favorite pairings or party ideas below—I’m always looking for new ways to turn ordinary snacks into memorable family moments!
Ready to Make (and Share) Sweet Memories?
With this peanut butter rice krispie treats recipe, you’re not just making a quick dessert—you’re whipping up moments your family will crave. Each chewy, peanutty bite is proof that easy, pantry-friendly treats can spark kitchen laughter, sticky hands, and joyful snacking—no fancy gadgets, just heart.
You’ve got everything you need to bake a little happiness, whether it’s for a bake sale, a movie night, or that “just because” afternoon pick-me-up. Isn’t it amazing how fast these bars bring smiles?
Peanut Butter Rice Krispie Treats Recipe (Best Ever!)
You’ll love this peanut butter rice krispie treats recipe for quick, gooey magic—just one pot and everyday ingredients. Ever wanted a chewy treat that’s both nostalgic and hearty? You can make these dreamy bars in minutes, with plenty of sticky smiles guaranteed.
Ingredients
Ingredients
Instructions
Instructions
- Melt the butter in a large, nonstick saucepan over low heat. (Patience is key for softer treats!)
- Add the mini marshmallows and stir until fully melted and glossy.
- Remove the pot from heat. Add peanut butter and vanilla extract, if using, and stir until smooth and thick.
- Quickly add the Rice Krispies cereal. Fold gently with a buttered spatula until every puff is evenly coated.
- Scrape the mixture into a parchment- or wax paper-lined 9x9 or 9x13” pan. Press evenly and gently (don’t squish too hard or bars will be dense).
- Let set at room temperature for 30–45 minutes.
- Slice into bars using a buttered knife for clean cuts.
- (Optional) For a chocolatey finish, drizzle melted chocolate chips or top with sprinkles before bars set.
Nutritional values
Servings: 16 ServingCalories:180kcalTotal Fat:6gTotal Carbohydrate:28gDietary Fiber: 0gSugars: 13gProtein:3g
Note
- For nut-free classrooms, swap in sunflower seed butter or almond butter and let everyone enjoy safely.
- Doubled batch for parties? Lila always asks for extra peanut butter—try adding a tablespoon for “double-the-hug” squares!
- “The gooey, sweet-salty scent will draw the whole family to the kitchen—picture sticky hands and laughter around the pan.”
- Social Caption: “Sticky, chewy, and a little nutty—this peanut butter rice krispie treats recipe is snack magic!💛”
- Make your bake sale bars pop with a swirl of chocolate or rainbow sprinkles—share your twist below!
A dinner hack you’ll use all week! When in doubt, trust my mantra: “Low heat, gentle press, happy treats.”